- ByteRover Desktop manages sign-in, onboarding, spaces, teams, sharing, sync status, and connected agents.
- ByteRover skill runs inside your coding agent so the agent can query and record project memory.
Step 1: Desktop installation
Download and install ByteRover Desktop for your computer. Download ByteRover Desktop Open ByteRover Desktop after installation. On a first run, Desktop shows the ByteRover welcome screen. Select Get started to continue setup.ByteRover Desktop also registers the
byterover:// protocol. This lets browser actions return to the desktop app for sign-in, invitations, billing, and topic links.Step 2: Sign in through the browser
Choose Continue with Google or Continue with GitHub in ByteRover Desktop.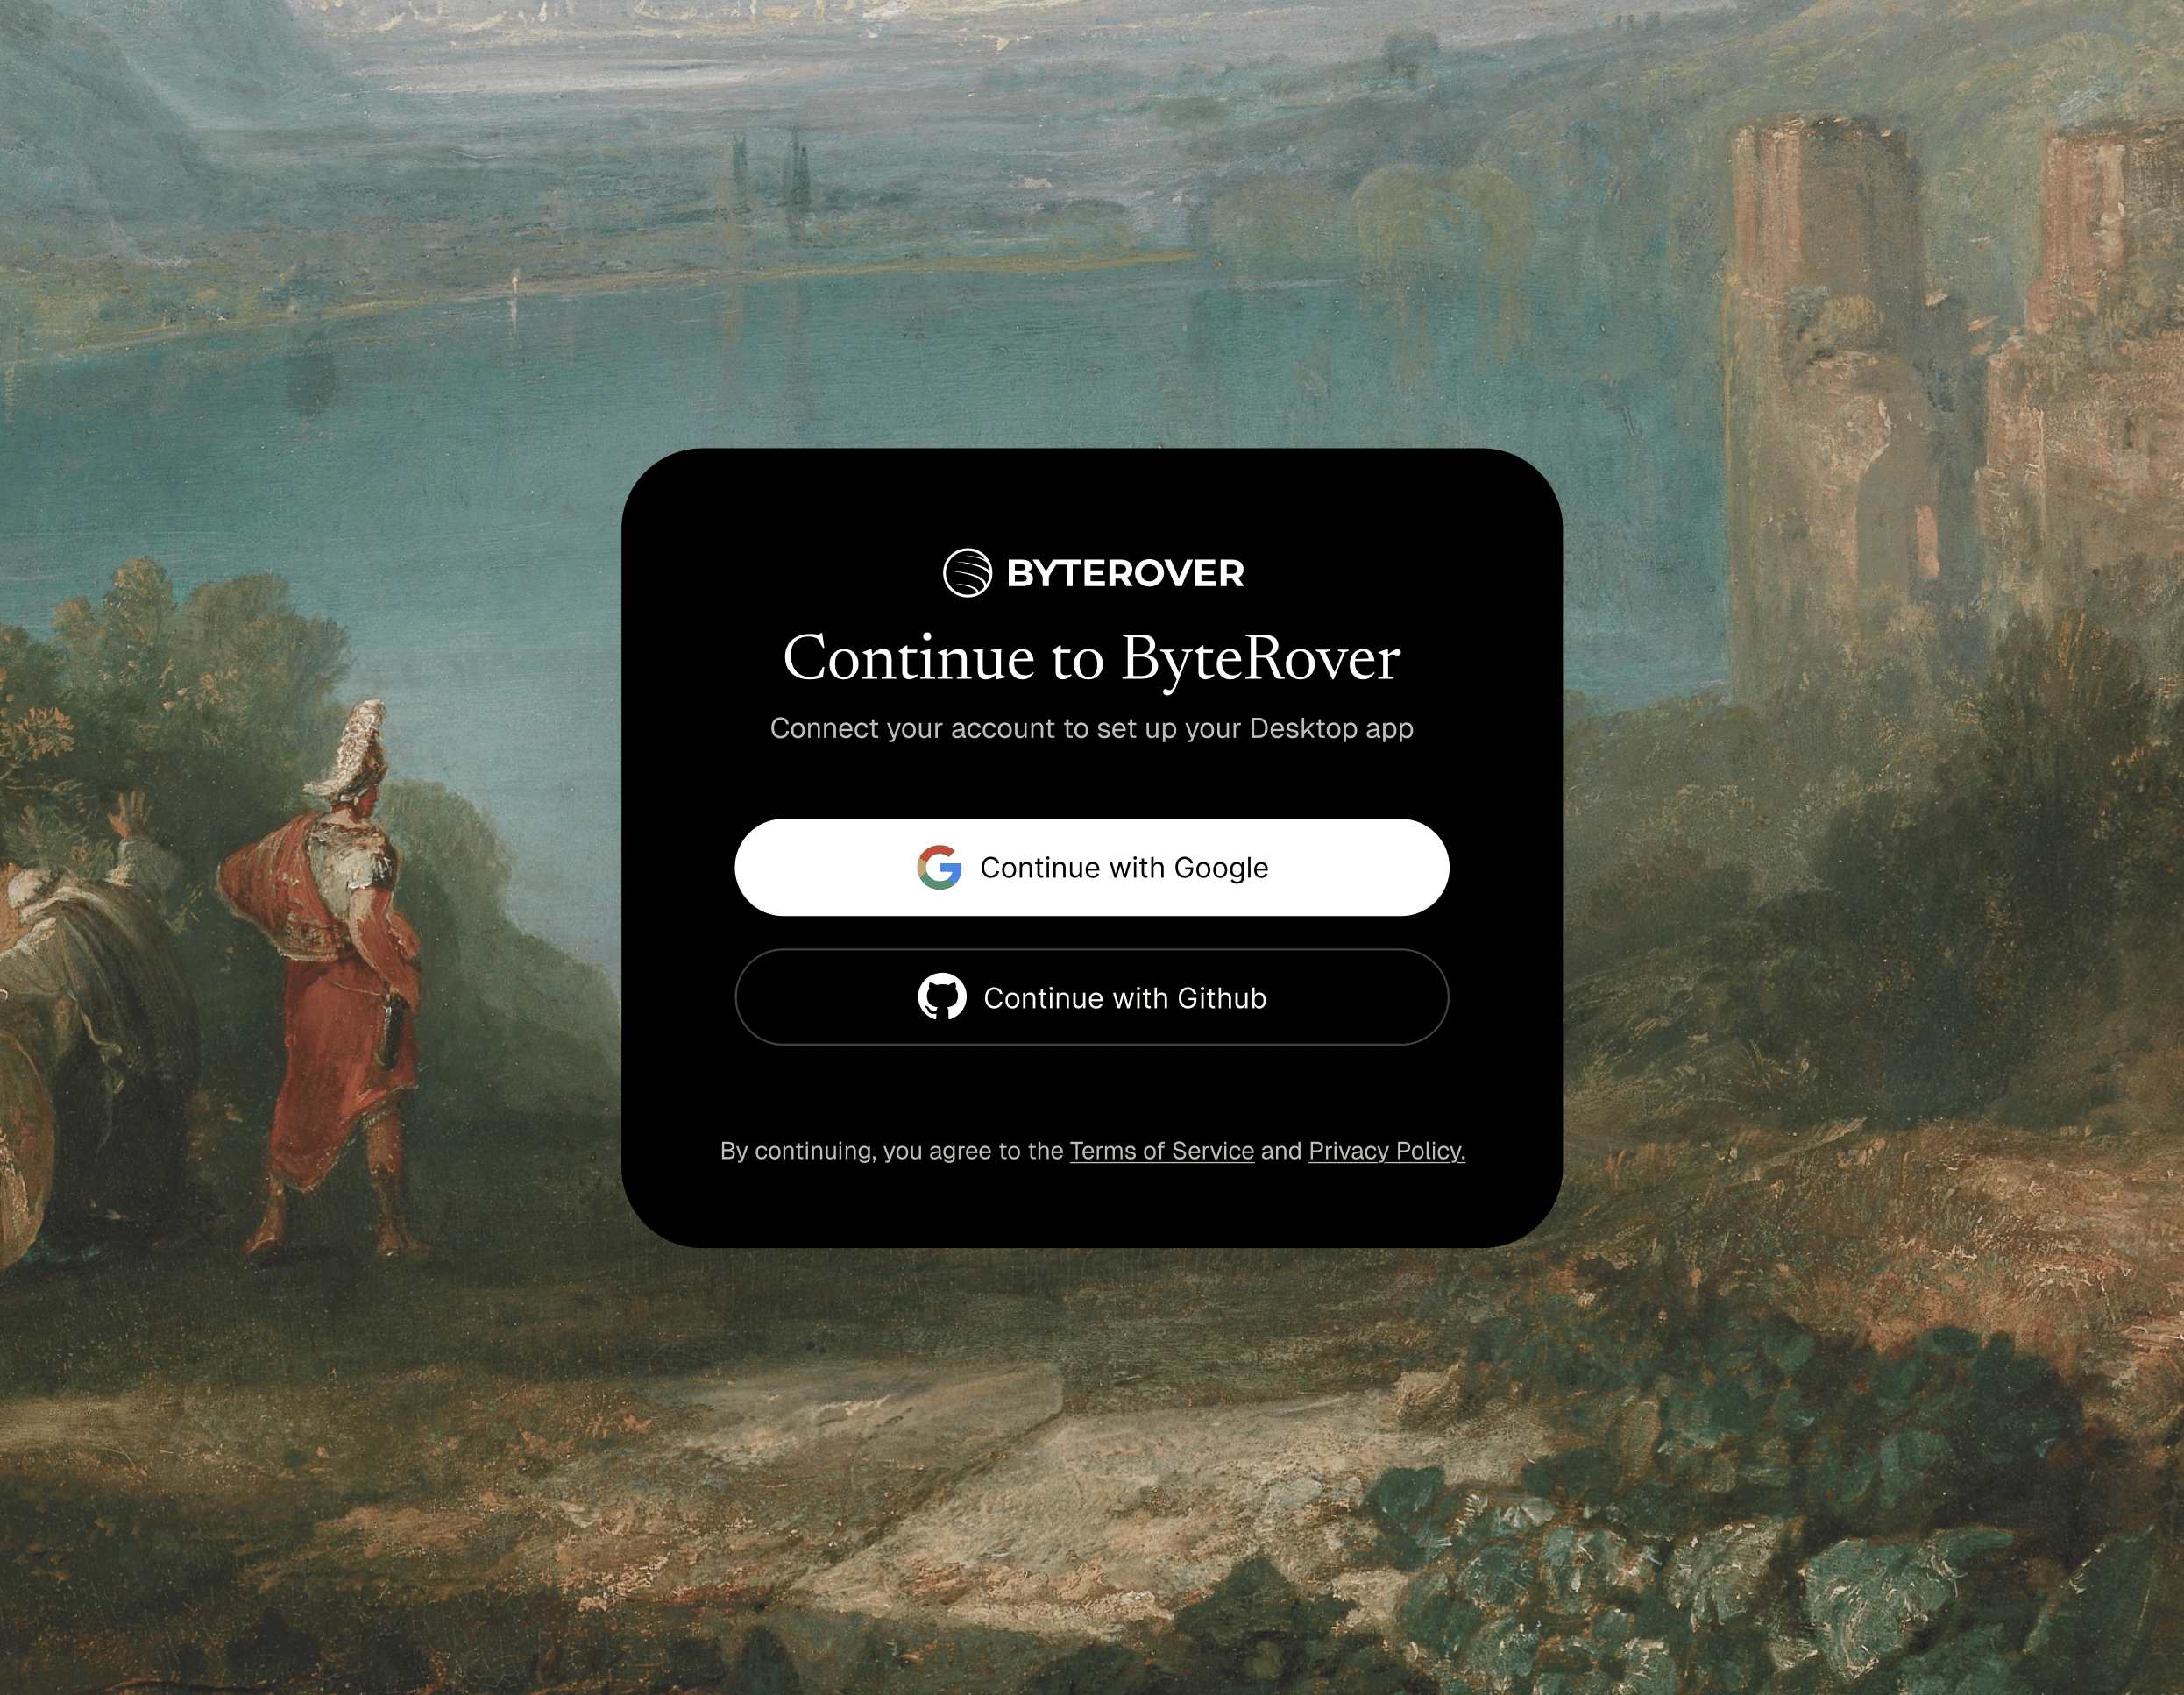
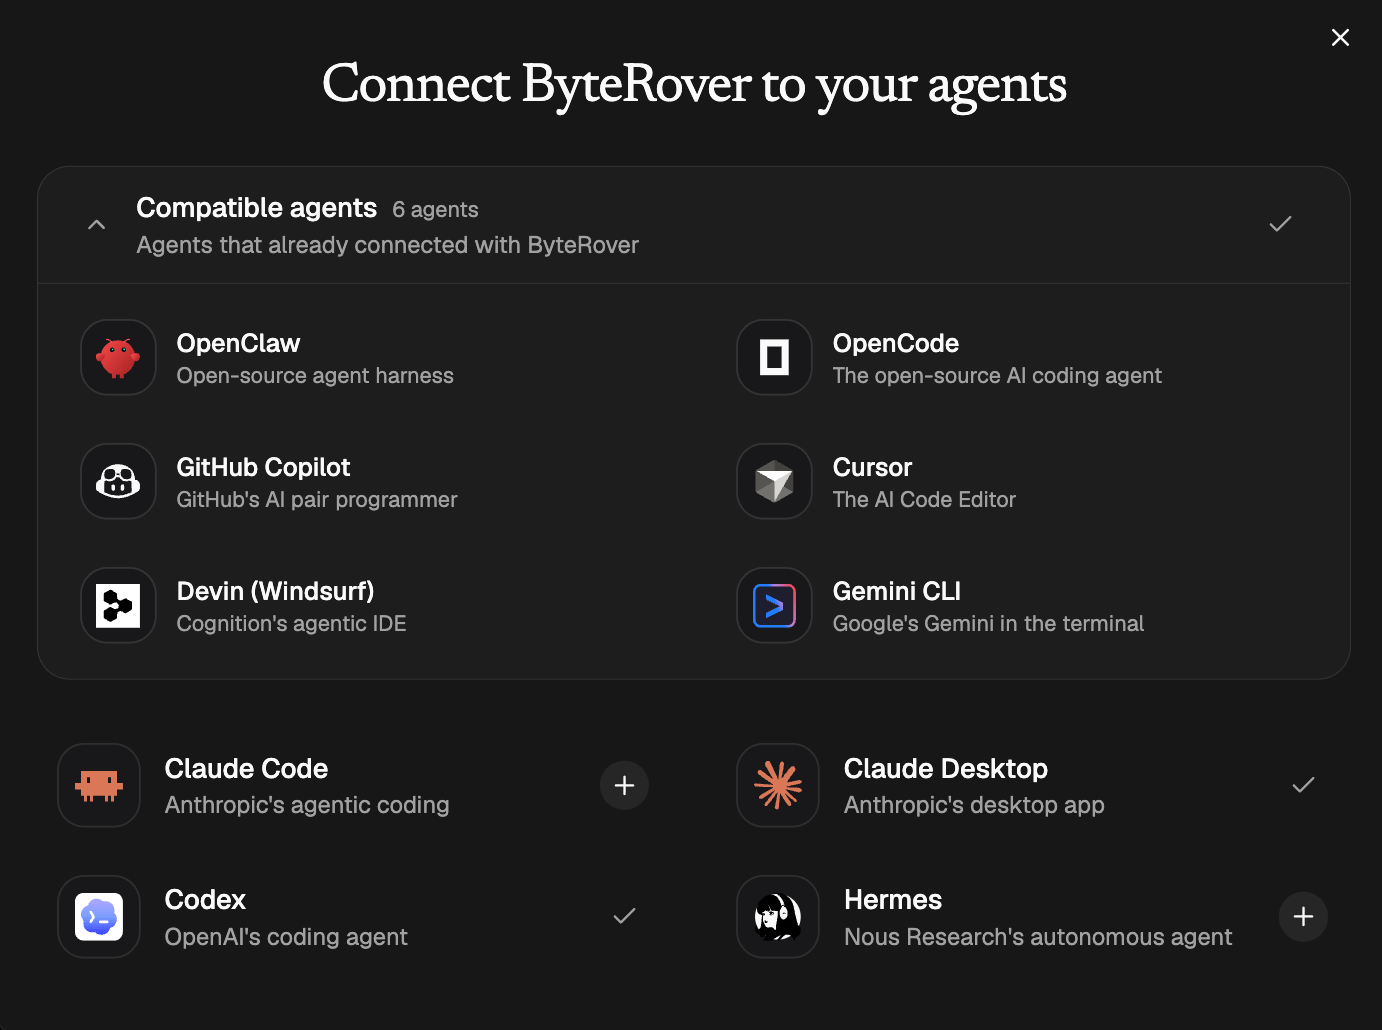
Step 3: Connect your agent
On first setup, Desktop opens the agent connection step. Connect the coding agent you use for development. Desktop shows each supported agent with one of these actions:- Connect installs the ByteRover skill for that agent.
- Connected means the skill is already installed.
- Update reinstalls the latest bundled skill when Desktop finds an older copy.
- Install Guide means the agent needs a manual setup flow.
Step 4: Onboard with ByteRover
Open your coding agent in the project you want to work on. Use the onboarding prompt shown by Desktop, or send:- If a space is already available, the agent connects to it and confirms setup.
- If no space is available, open ByteRover Desktop, create or select a space for the project, then run the prompt again.
- If the agent needs authentication, it will give you a browser URL. Open the URL, approve the request, then return to the agent and say
approved.
- query project memory before non-trivial work
- record useful project knowledge after work is complete
Next steps
- Connect Agent - manage agent connections from Desktop.
- Team - invite teammates and manage team roles.
- Space - control where project memory lives and who can access it.
- Agents - connect OpenClaw, Hermes, Codex CLI, Claude Code, and OpenCode CLI.
- Bind - connect a project folder to the right ByteRover space.
- Record - save durable project knowledge after work is complete.
- Query - retrieve project memory before work starts.
- Dream - review cleanup and consolidation proposals for saved memory.
- Auth - approve skill authentication when an agent asks for it.