Prerequisites
- ByteRover account (sign up)
- An active team and space in ByteRover’s web app
- Node.js 20+
- Your coding agent IDE (Cursor, Claude Code, Windsurf, etc.) with a project opened and a terminal created to run
brvcommands
Step 1: Install
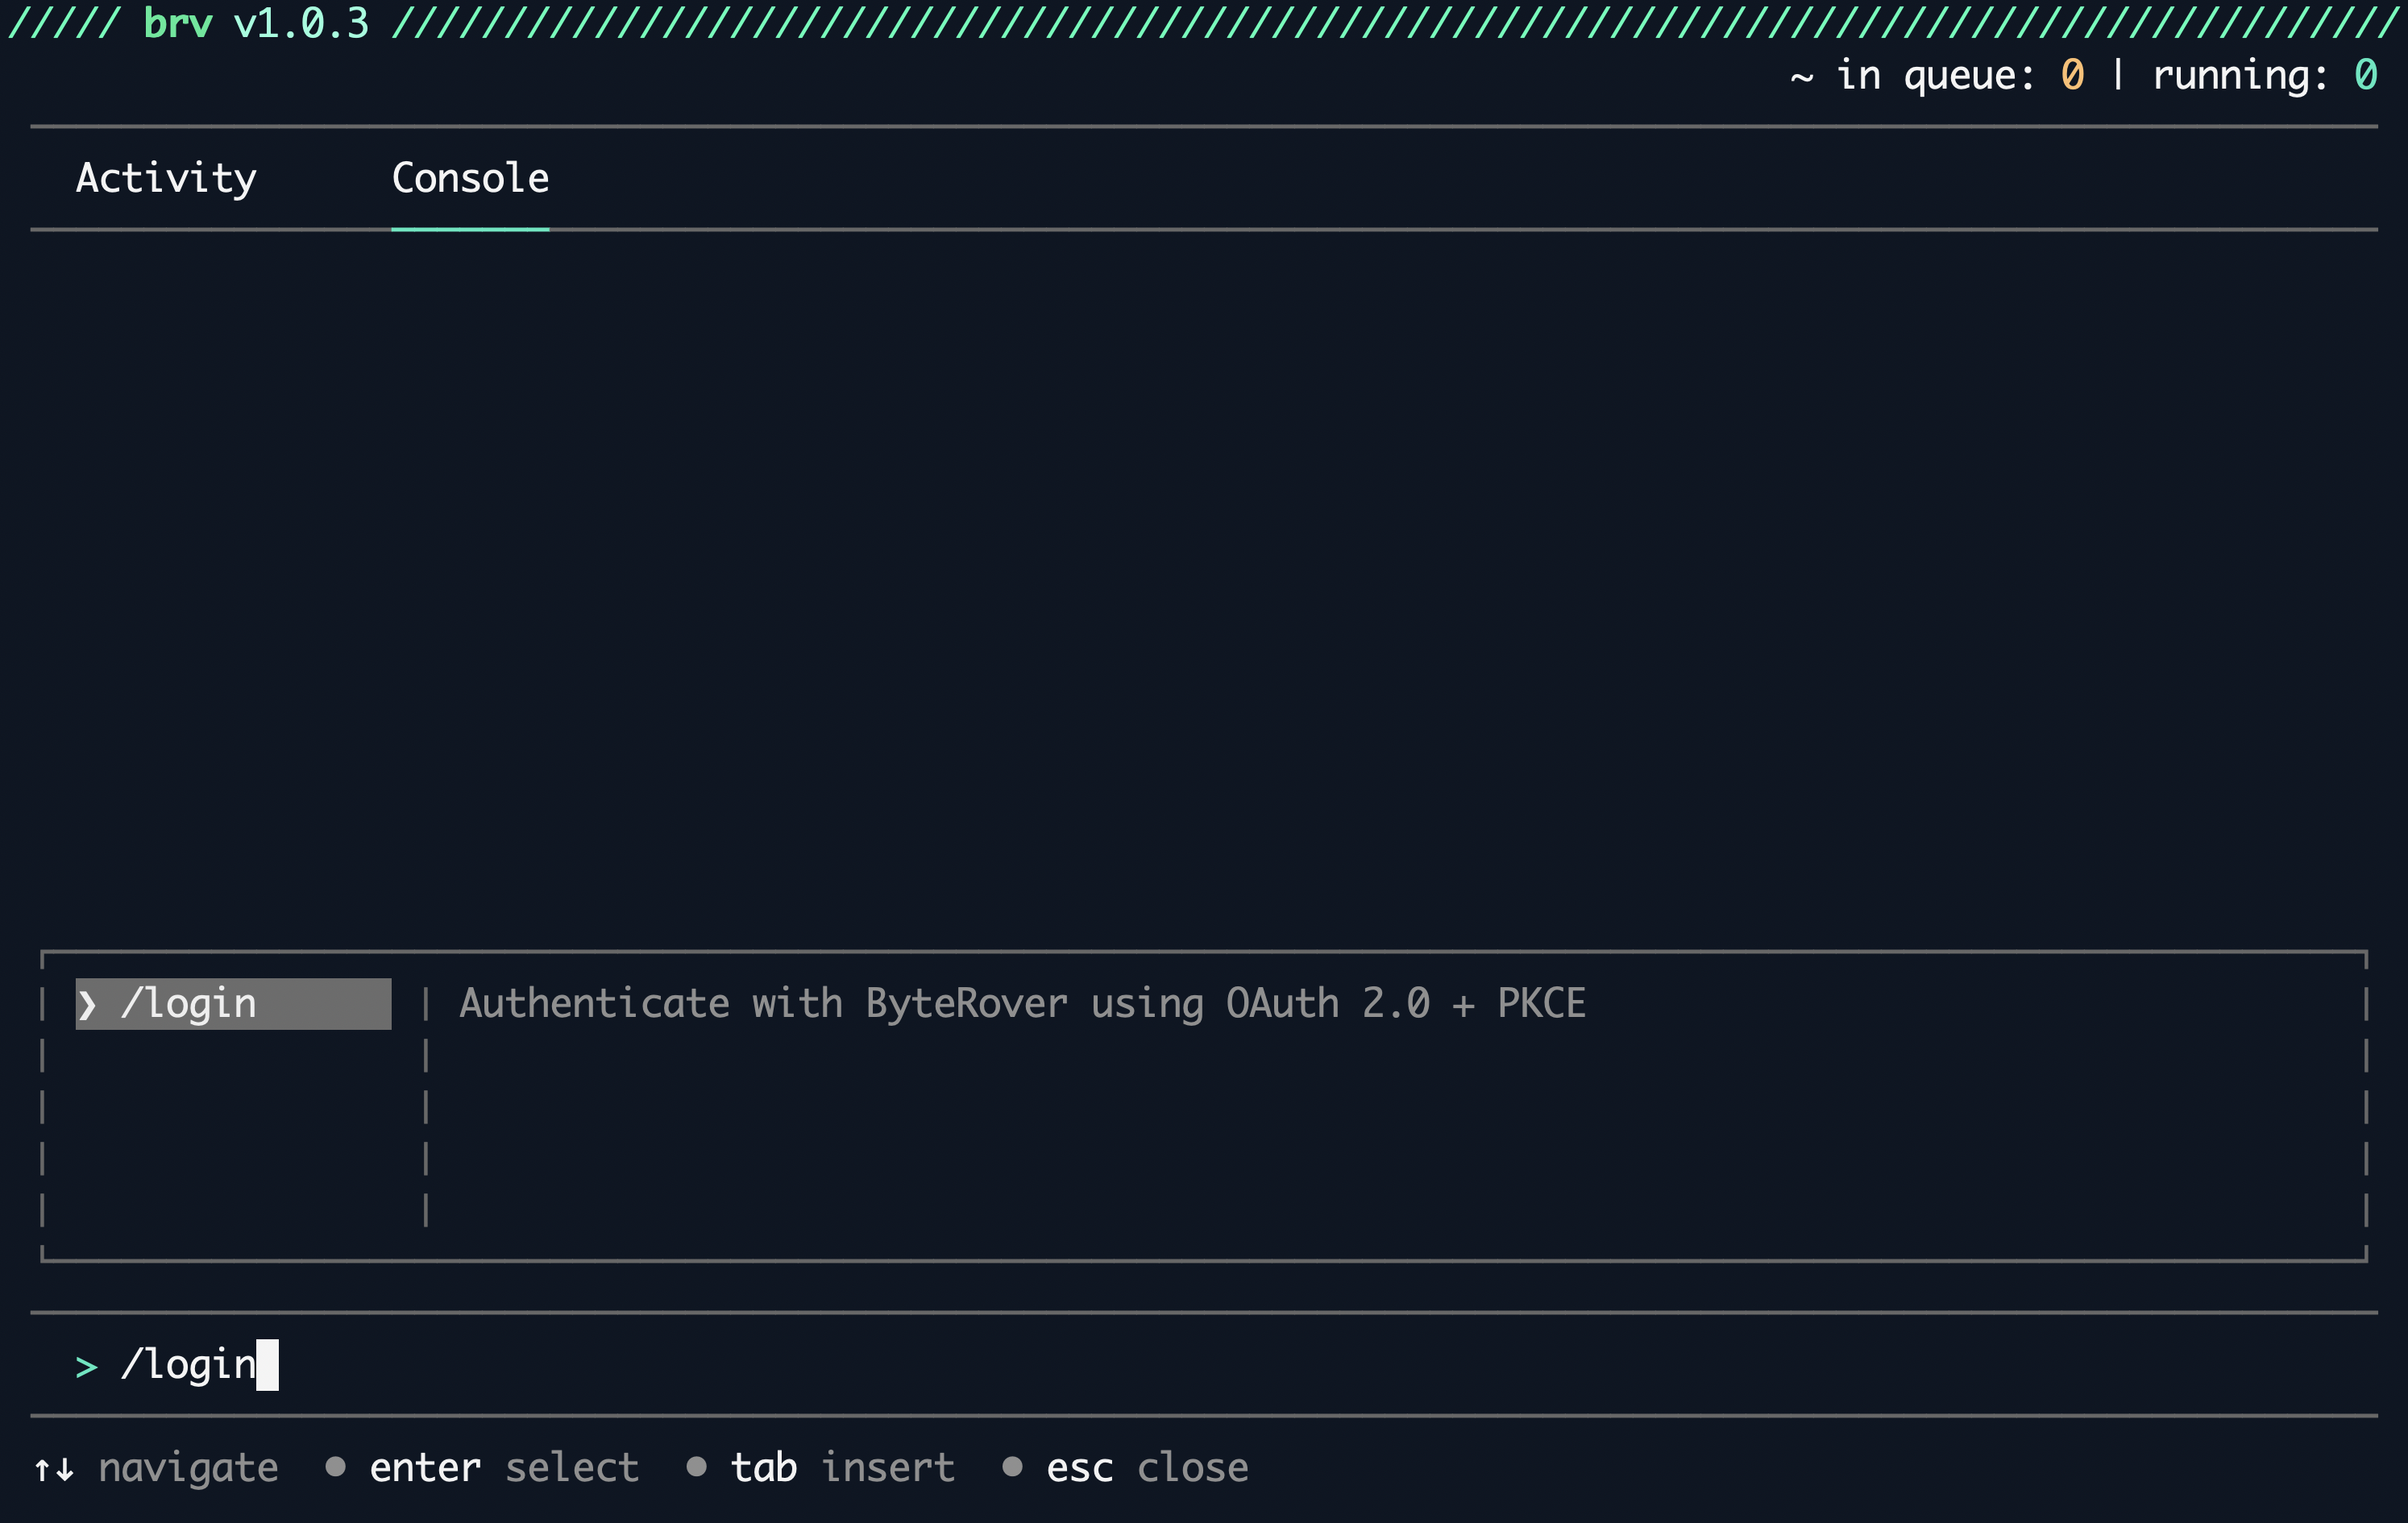
Step 2: Authenticate
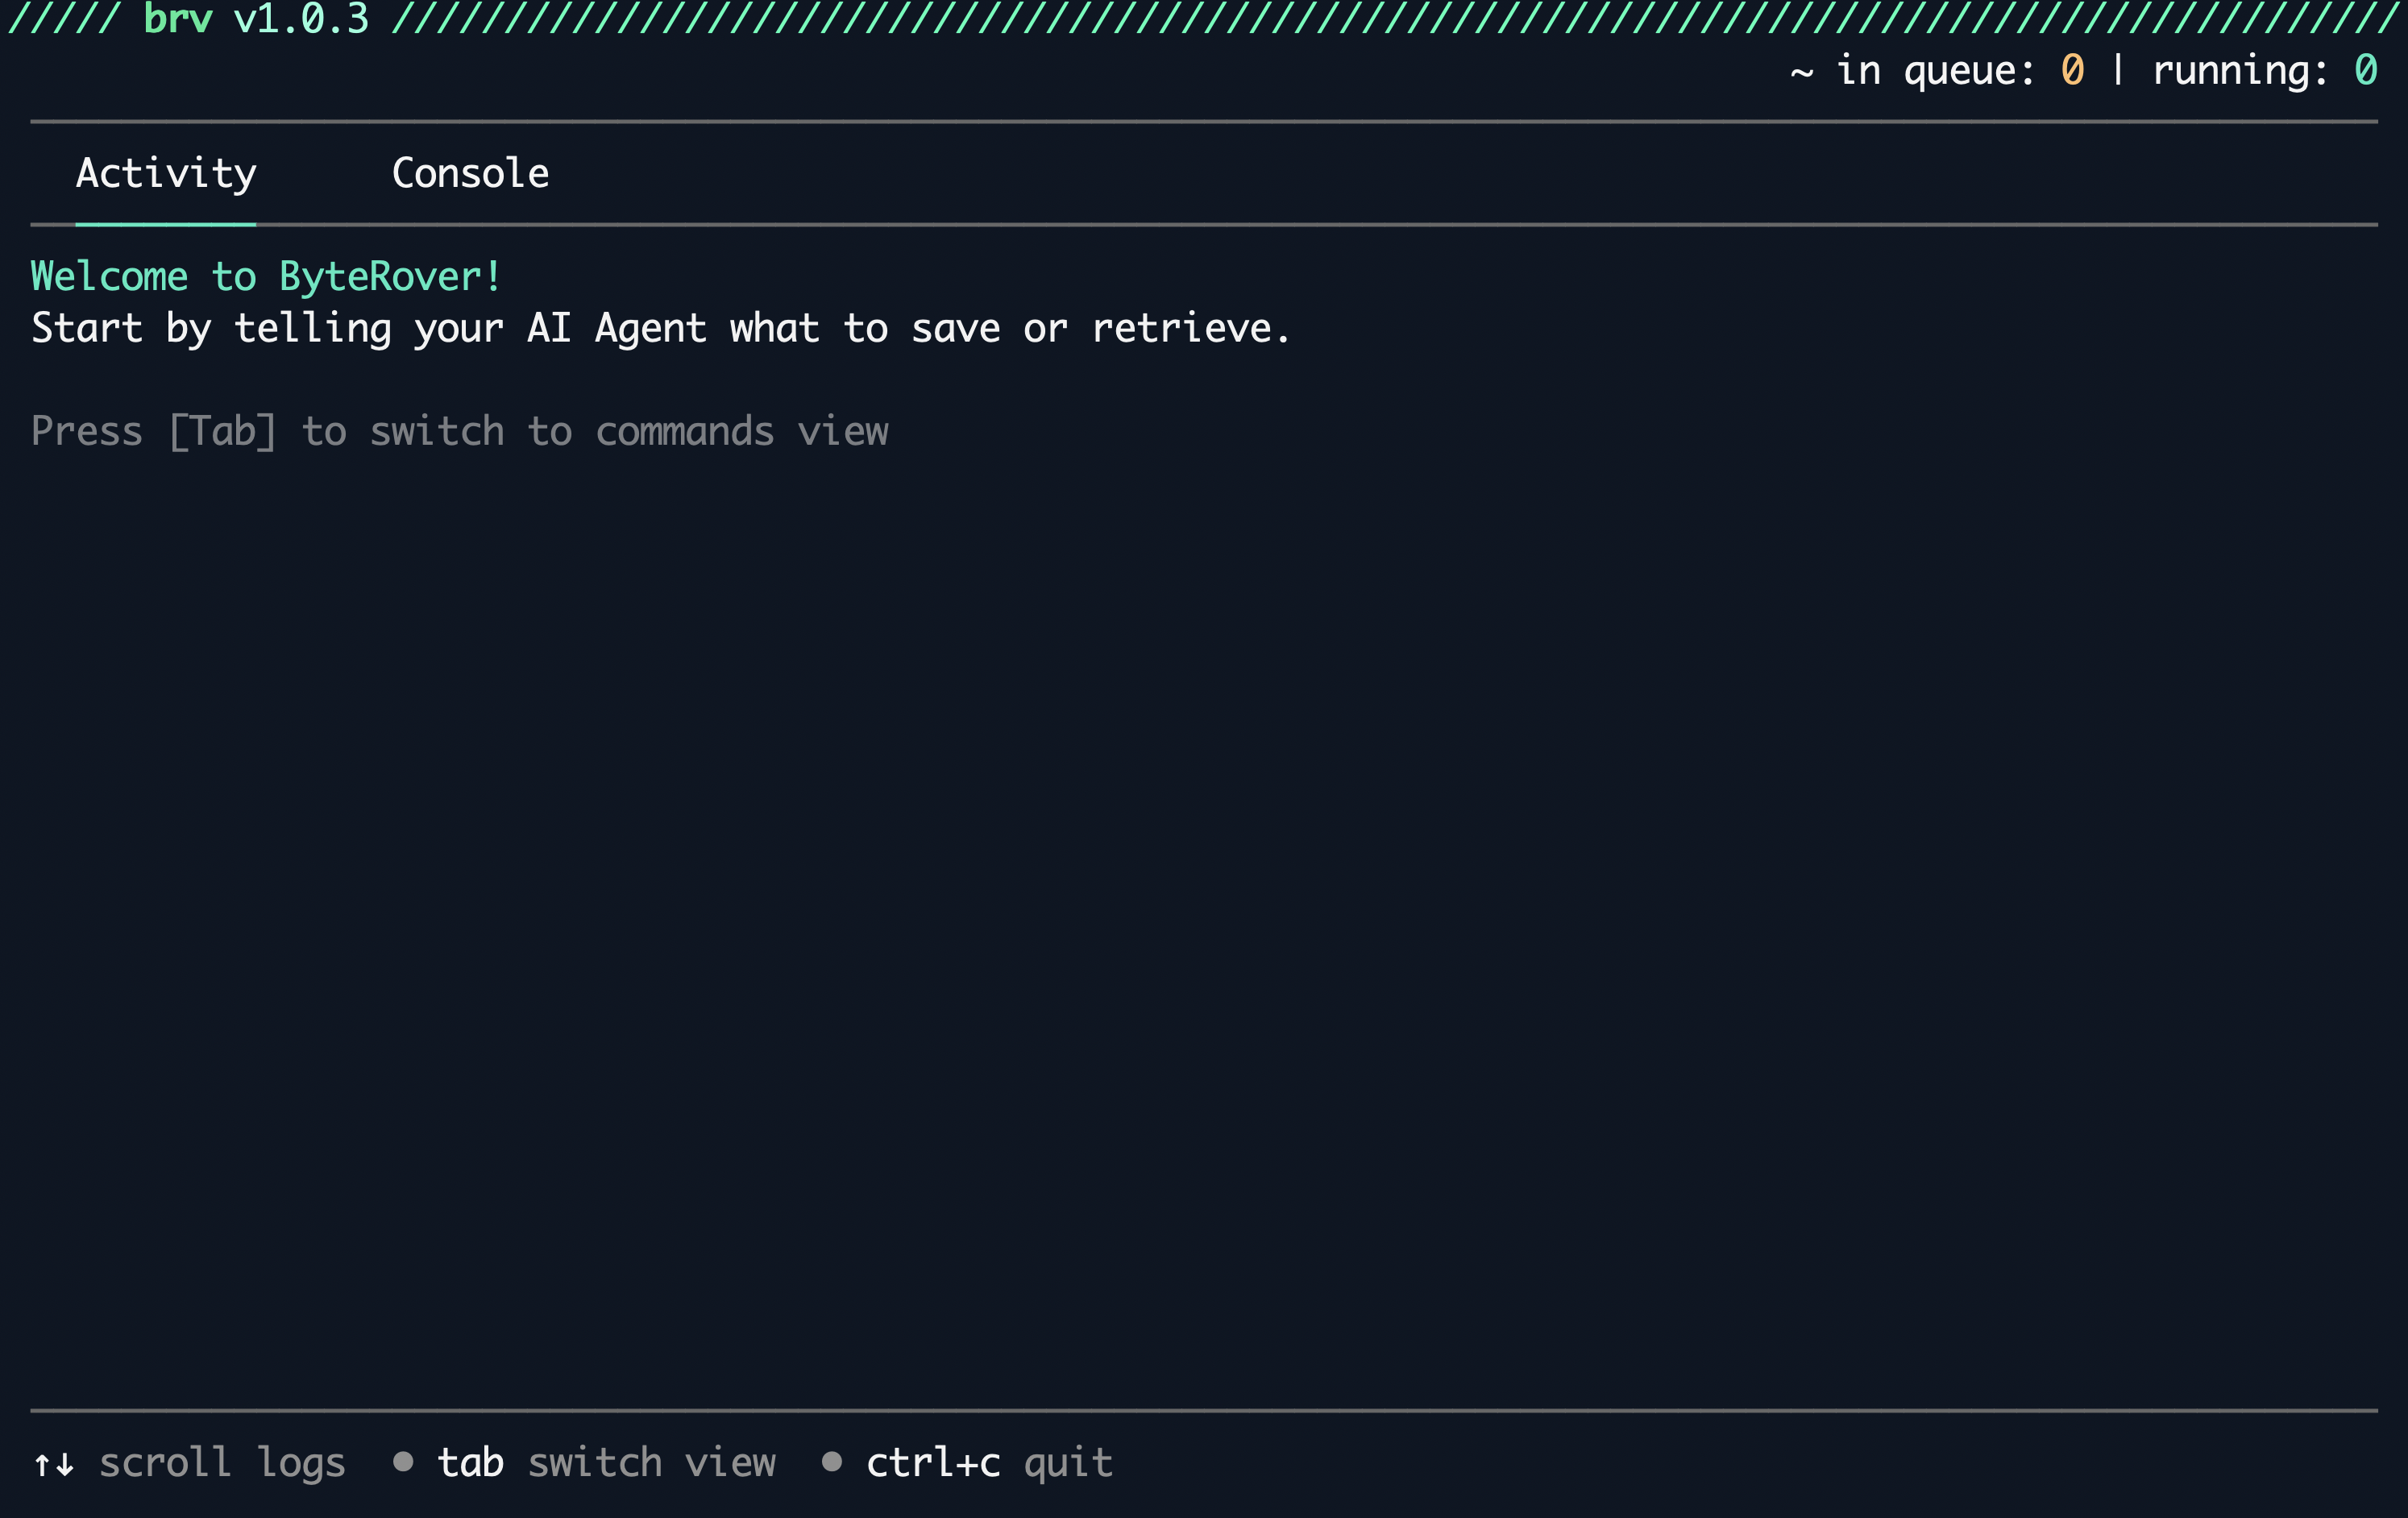
Navigate to your project directory and start the ByteRover REPL:
Tab to switch to the Console tab, then type:

Step 3: Initialize your project
In the Console tab, type:1
Select your team
2
Select your space
3
Choose your coding agent
Step 4: Add your first context
Via your coding agent
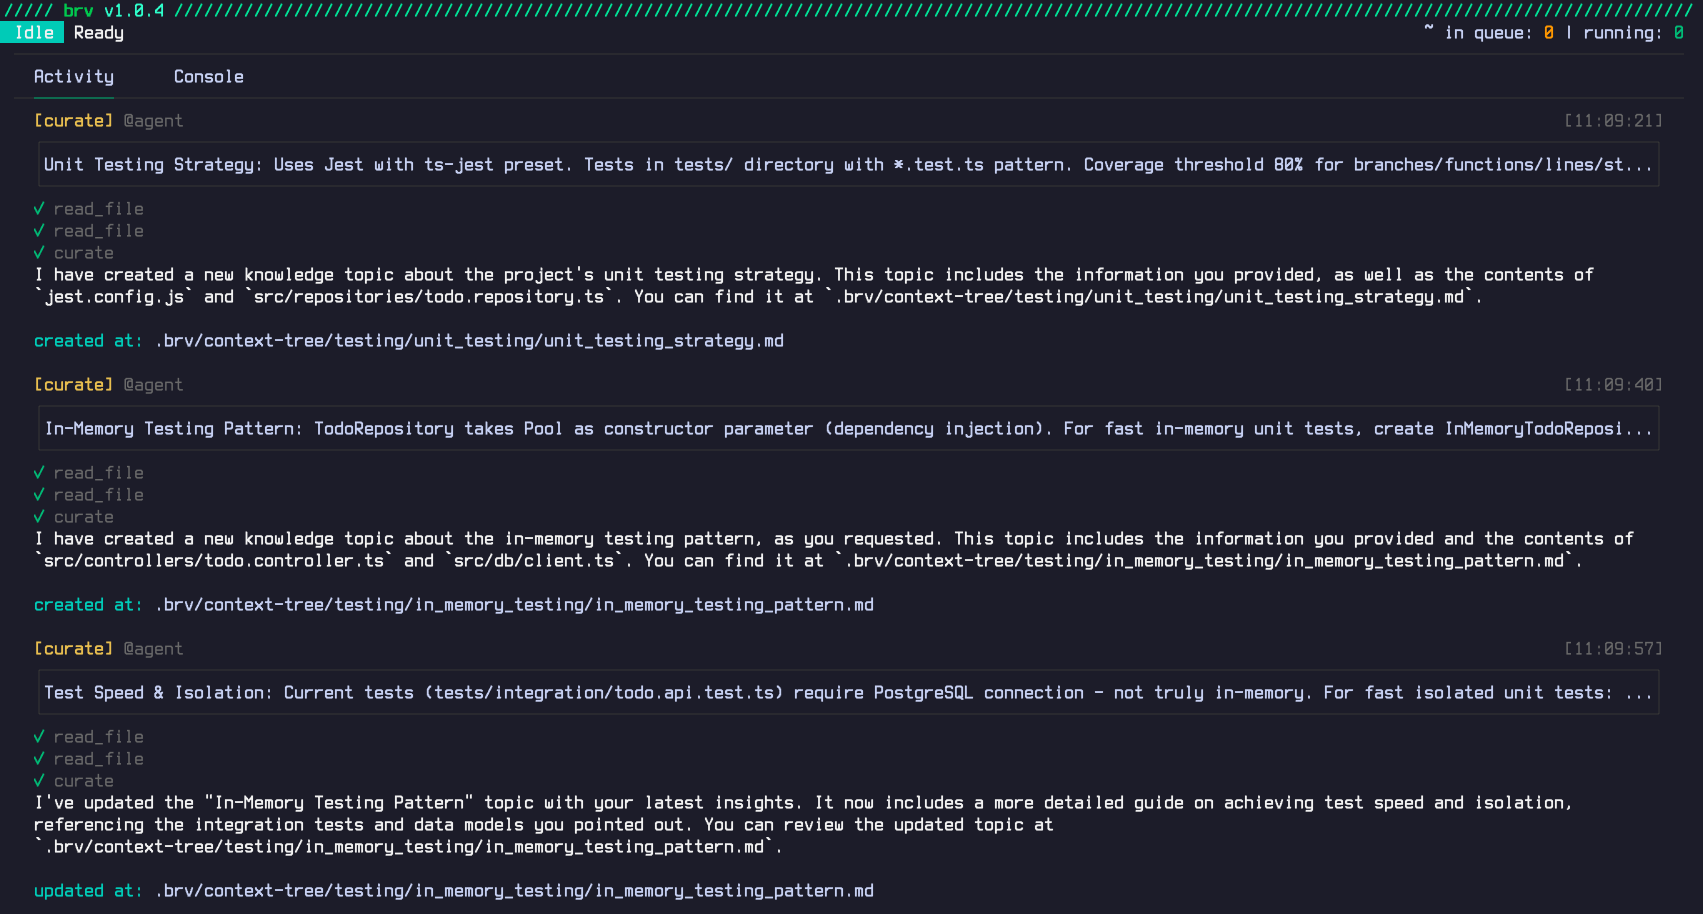
Prompt your coding agent (Cursor, Claude Code, Windsurf, etc.):brv curate to add context automatically.
Switch to the Activity tab to view the operation in progress:

Manual
In the Console tab, use the/curate command for more intentional curation:
testing, one of the structured domains (structure, database, and backend, etc.) in the context tree.
Step 5: Verify it worked
Check your context tree with:
Step 6: Query context
Via your coding agent
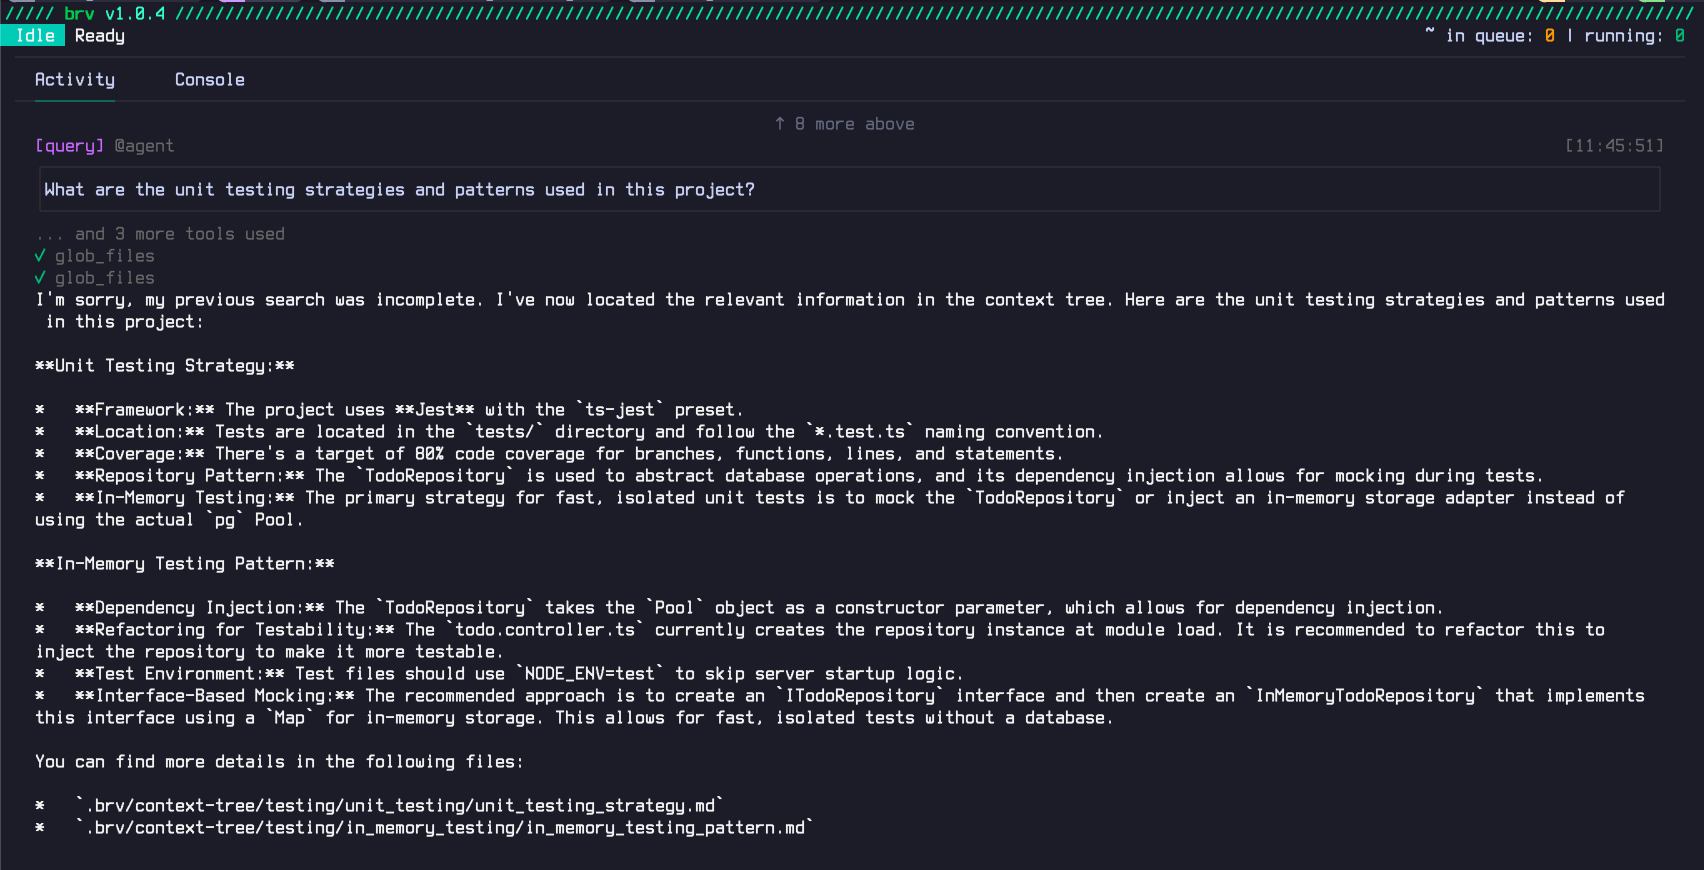
Prompt your coding agent to retrieve context before implementing:brv query, asking what it needs for its task, and get the precise context.

Manual
In the Console tab, use the/query command:
You’re all set! You now know the core ByteRover commands. Continue learning how to collaborate with your team and integrate ByteRover into your complete workflow.